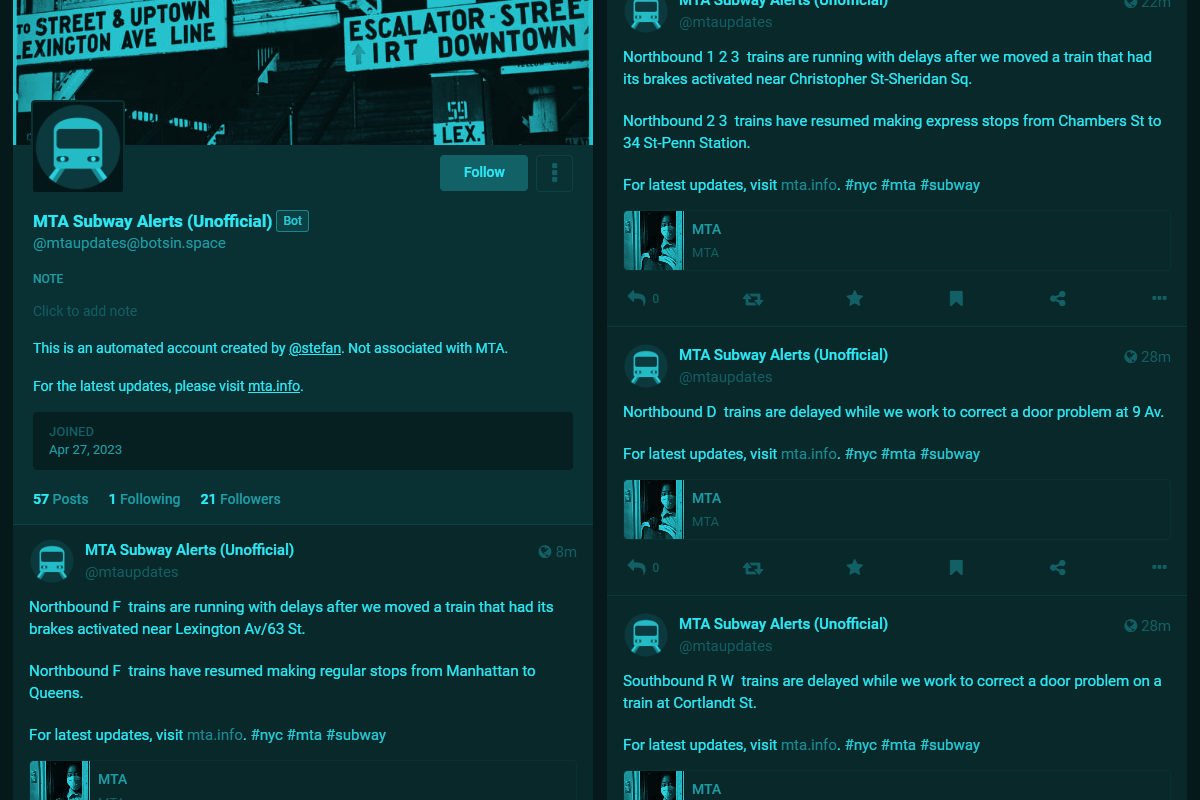
Twitter’s continued downward spiral claims yet another victim as MTA announced it will no longer provide real time updates on Twitter, which would cost it tens of thousands of dollars per month.
Yikes.
But hey, there are still ways to stay informed about the public transit here in New York, including subscribing via email.
Hm. Say, wouldn’t be great if you could turn these email notifications into a bot that you and your friends could follow anywhere in the fediverse?
Well, I have some good news for you, my friend. You can do just that with Pipedream. Let me show you how.
You may wait longer for a northbound N train after we removed a train with a mechanical problem from service earlier in Brooklyn.
For latest updates, visit https://mta.info. #nyc#mta#subway
1 2 3 trains are delayed in both directions while we address a loss of power between 96 St and 125 St.
For latest updates, visit https://mta.info. #nyc#mta#subway
And before I begin, let me add that you could make a this bot using MTA’s own API (thanks to sashk for pointing this out), but for the purpose of this tutorial I will use email alerts, so that you can follow along and learn how to implement this for a service that may only have email alerts and no other alternative.
First, we will need to sign up for a Mastodon account and set up a Mastodon app that will control our bot.
Note that you can sign up on any of Mastodon’s servers, but if you do choose botsin.space, be prepared for some wait time while your account is manually reviewed and approved.
Next, create a Pipedream account, if you don’t have one yet. (Their free tier will give us plenty of tools and resources to put this project together.)
Once inside Pipedream, let’s create a new workflow.

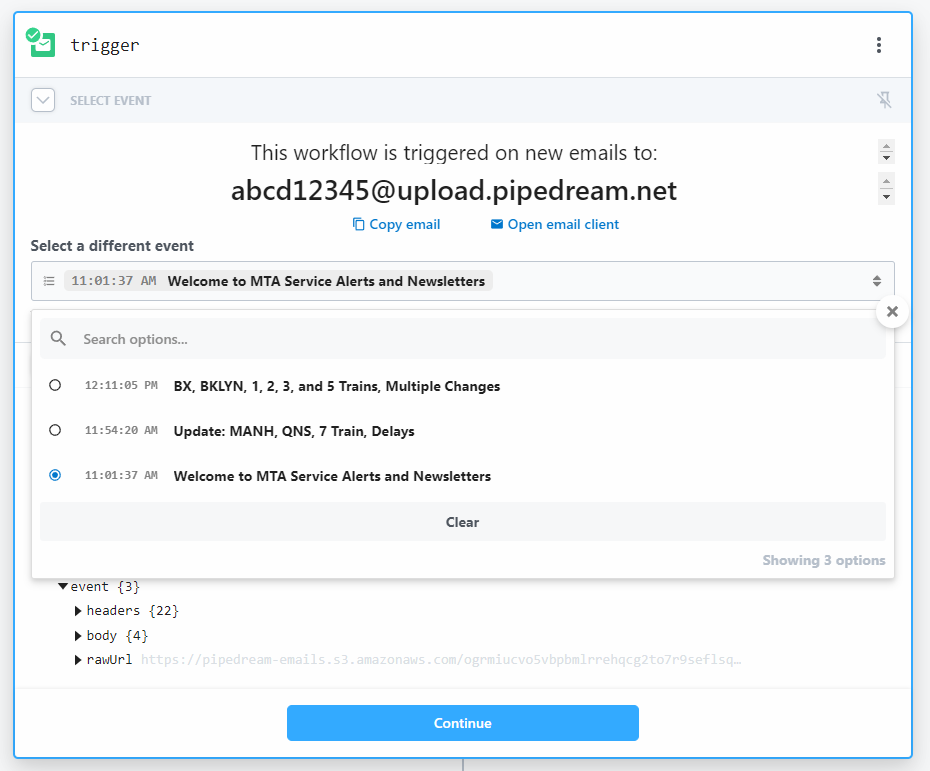
We’ll start with a an email trigger.
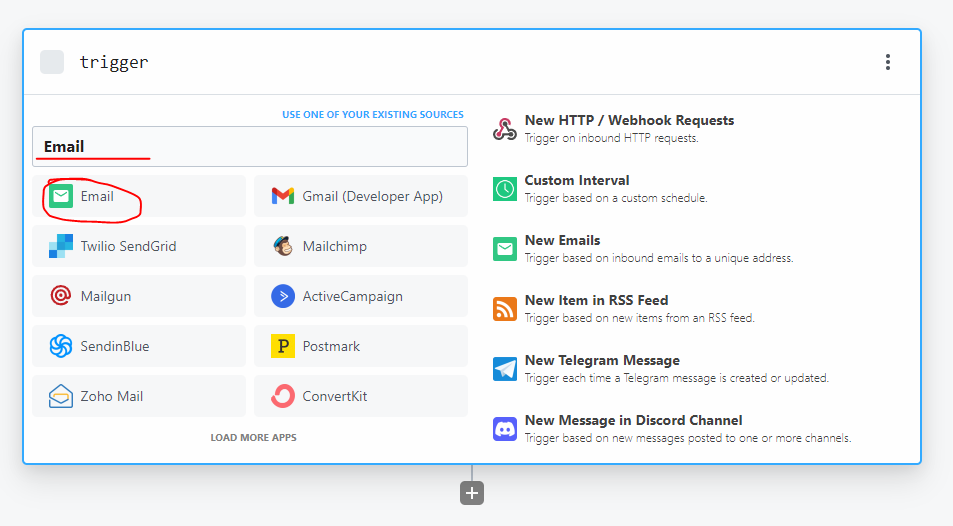
Pipedream will give you a unique email address.
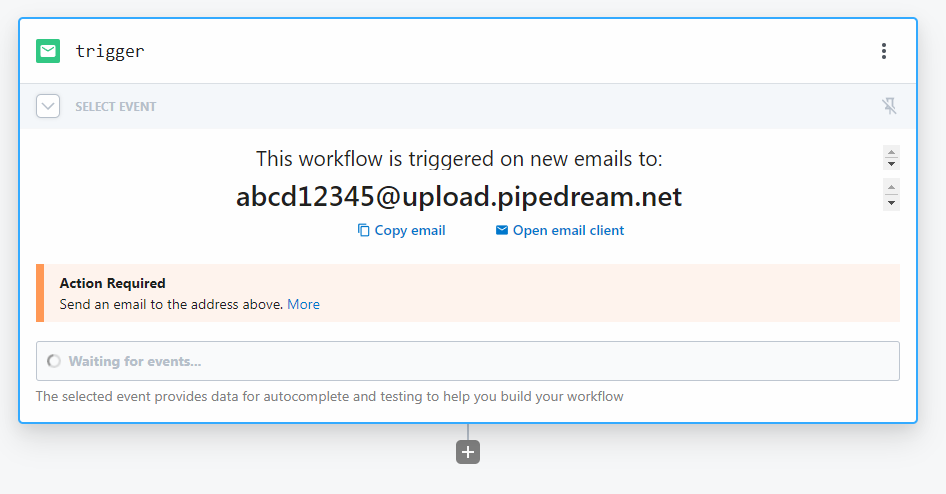
We can use this email to sign up for MTA’s email alerts. Once you do, you will see a new event in your email trigger step.
Now this part is a little bit tricky. First, select the confirmation email event.

Expand the data from the email and copy the value of the html object.

Save the HTML code in a file called email.html and open it in your browser.


Follow the steps to confirm your Pipedream email address and create an alert with services you want to monitor. In my case, I selected all subway lines.

Great. Now give it a few minutes until you receive your first alert.
Add a new Python workflow step using the big + button below your email trigger.
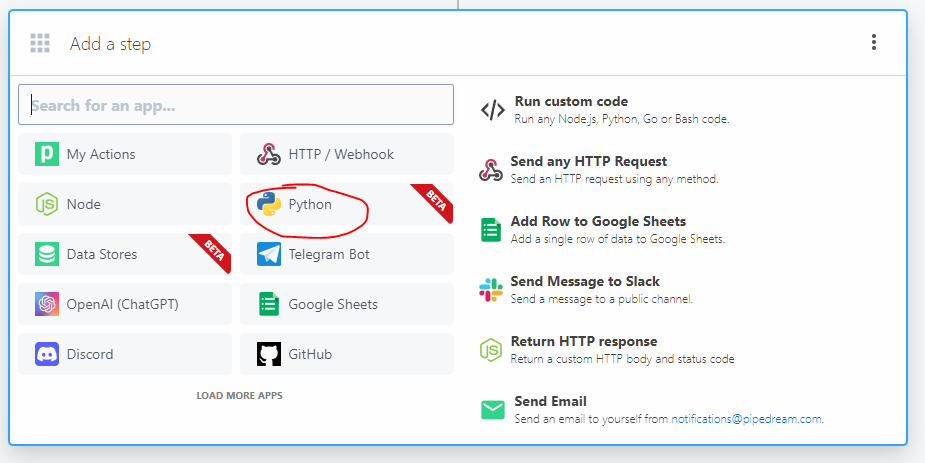
Select the “Pass data between steps” Python template.

Update the example code to look like this:
def handler(pd: "pipedream"):
    # Reference data from previous steps
    print(pd.steps["trigger"]["event"]["body"]["html"])
    # Return data for use in future steps
    return {"foo": {"test": True}}
This will print the HTML code from the email.

And here comes the harder, and a more creative part of our tutorial. In essence, we have to take the HTML from the email and extract the data we want to post.
One thing that will help is repeating a previous step where you copy the HTML, save it in an email.html file, and open it in your browser.
There’s a popular Python library called Beautiful Soup that we can use to help us deal with the HTML.
I am going to jump ahead here and share the full code and walk you through it.
import re
from bs4 import BeautifulSoup

def handler(pd: "pipedream"):
    html = pd.steps["trigger"]["event"]["body"]["html"]
    email_html = BeautifulSoup(html, "html.parser")
    content = email_html.find_all("td", class_="camarker-inner")[1].find_all("p")
    status_html = str(content[0])
    print(status_html)

    link = email_html.find_all("a", class_="mobfont", href=True)[0]["href"]
    print(link)

    regex = re.compile(r"<sub>[\r\n]*<img alt=\"([a-zA-Z0-9]) Train.*?</sub>")
    status = regex.sub("\\1 ", status_html.replace("<br/>", "\n"))

    alert_html = BeautifulSoup(status, "html.parser")
    status_text = alert_html.get_text()

    status_text = f"{status_text}\n\nFull message: {link}\n\nFor latest updates, visit https://mta.info. #nyc #mta #subway"

    print(status_text)

    return {"status": status_text}
First, we’ll need to import the libraries we will be using. re for working with regular expressions, and the aforementioned Beautiful Soup.
import re
from bs4 import BeautifulSoup
Next, we have our handler function. In it, we’re getting the HTML of the automatic email alert. If you saved it as a file, you will see we need to access the P tags inside the camarker-inner table cell.
    html = pd.steps["trigger"]["event"]["body"]["html"]
    email_html = BeautifulSoup(html, "html.parser")
    content = email_html.find_all("td", class_="camarker-inner")[1].find_all("p")
    status_html = str(content[0])
We can also retrieve the link to the full email.
    link = email_html.find_all("a", class_="mobfont", href=True)[0]["href"]
    print(link)
Now the tricky part here is that the email alert uses images for train names. We have to apply some regex magic to turn them back into numbers and letters.
    regex = re.compile(r"<sub>[\r\n]*<img alt=\"([a-zA-Z0-9]) Train.*?\n?</sub>")
    status = regex.sub("\\1 ", status_html.replace("<br/>", "\n"))

    alert_html = BeautifulSoup(status, "html.parser")
    status_text = alert_html.get_text()
This part will be different if you want to work with another email subscription in the future. I recommend brushing up on your regular expressions and using a site like regexpal.com for testing.
And lastly, we need to return some data from the handler function for the next step.
return {"status": status_text}If we run our workflow now, we should see the status. And our print statements will show up in the Logs tab, this will be useful for debugging any errors.

Next, let’s add a Mastodon step.

Look for “post status”.

You will be prompted to connect your account using the information from your Mastodon app.

As a value, use {{steps.python.$return_value.status}}.
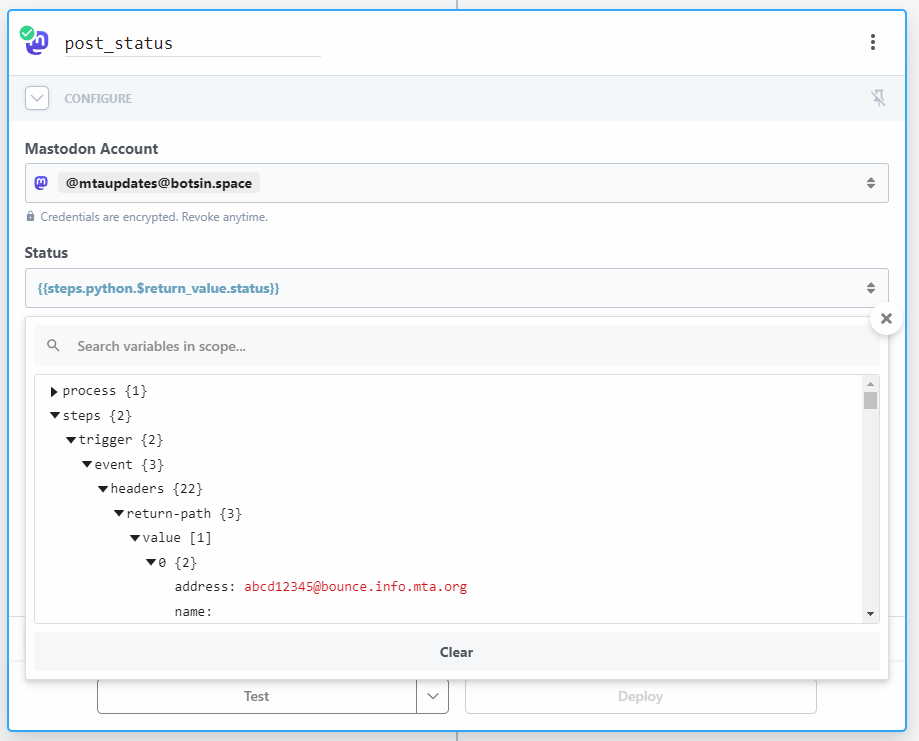
Make sure to enable the option to split long messages into a thread.

Now let’s test our workflow.

Looking good!

And here’s our first post. Beautiful.

Now you can click the Deploy button in your workflow to publish it. And there you have it, you just turned an email subscription into a bot.
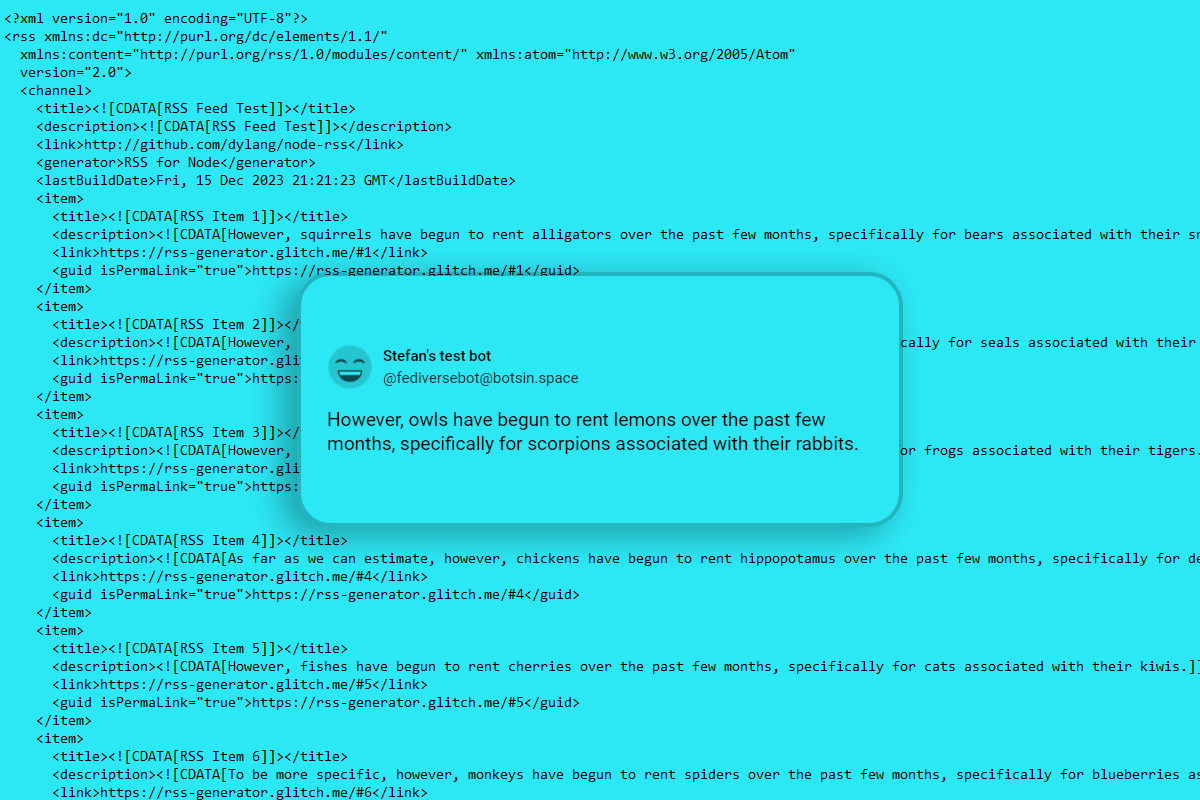
Here’s a quick tip before we part ways. Every bot on Mastodon comes with a free RSS feed. So, for my bot @mtaupdates you can just add .rss at the end of its URL, like this:
https://botsin.space/@mtaupdates.rssNeat!
I hope you enjoyed the tutorial, and until next time!

