


iOS Basic Integration
Steps for basic integration of the Branch iOS SDK into your mobile app.
This page outlines the steps required to integrate the Branch iOS SDK. At the end, you will be ready to send Branch Events and use Branch Deep Links.
| GitHub | SDK Size | Speed | Min. Xcode Version | Min. OS Version |
|---|---|---|---|---|
| Repo | ~220kb for all features | Median 80ms to 250ms | 12.3+ | iOS 9+ |
Note: If you need to delay Branch initialization so you can request tacking permission from the user first or you need to set special initialization metadata because your third party data integration partner requires it, see Branch's iOS Advanced Features guide for relevant steps.
1. Configure Branch Dashboard
Start by configuring the Branch Dashboard for your application.
- Configure the default link settings for your app within the Configuration page of the Branch Dashboard.
- On the same page, confirm the "I have an iOS App" option is selected.

- Retrieve your Team ID from your Apple Developer Account.

- Go back to the Configuration page and use your Team ID as the value for your Apple App Prefix in the Branch Dashboard.

2. Configure Bundle Identifier
Next, make sure the Apple Bundle ID for your project matches the one in the Branch Dashboard.
- Find the bundle identifier for the relevant target associated with your project in Xcode, under the "Signing & Capabilities" tab.

- Return to the Configuration page of the Branch Dashboard, and use the "Add New Bundle ID" button to add your Bundle ID.

3. Configure Associated Domains
You will also need to tell your project what link domains it can expect Branch to use.
- In your Branch Dashboard, navigate to the "Link Domain" section of the Configuration page.

- Return to the "Signing & Capabilities" tab in Xcode, and add the domains from your Branch Dashboard to your project's target.
- Use
applinks:subdomain.app.linkfor the format. - The
-alternateflag is required to ensure proper functioning of Universal Links and Deepviews for users that do not have your app installed. - The
.testflag is required if you need to use a test key.
- Use

Please note: if you use a custom link domain, you will need to include your old link domain, your -alternate link domain, and your new link domain in your project.
4. Configure Info.plist
Branch requires certain key/value pairs to exist in your project's info.plist file. These include:
- The
branch_universal_link_domainskey, which refers to your associated domains. - The
branch_keykey, where you add your live key and can choose to add your test key as well. - The
URL typeskey, where you add values for yourURL SchemesandURL Identifier.- Note: The Branch iOS SDK will pull the first URL Scheme from your list that is not one of
fb,db, orpin. This value will be used one time to set the iOS URL Scheme under your Link Settings in the Branch Dashboard.
- Note: The Branch iOS SDK will pull the first URL Scheme from your list that is not one of
There are several ways you can update your info.plist file:
- As of Xcode 13, many project templates do not include an
info.plistautomatically. Instead, you can edit the "Custom iOS Target Properties" and "URL Types" sections of the "Info" tab for your target. When you add new, non-default fields to these sections, Xcode will generate aninfo.plistfile for your project.

- If you already have an
info.plistfile, you can edit it in the Xcode UI by selecting it from the navigation.

- You also have the option to edit the XML in the
info.plistfile directly:
5. Install Branch
Please choose one of the following integration methods to install the Branch SDK into your app.
Learn more about Swift Package Manager.
To add the Branch iOS SDK to your project as a Swift package dependency:
- In Xcode, go to File -> Add Packages.
- Use the search bar to look for either ios-branch-sdk-spm or https://github.com/BranchMetrics/ios-branch-sdk-spm.
- Select the
ios-branch-sdk-spmpackage and click Add Package to continue through the installer. - Check that the Branch iOS SDK now appears in your project's Package Dependencies tab.
- Navigate to your project's Build Phases tab and expand the Link Binary With Libraries section.
- Click on the + button to search for and add the following dependencies, noting the correct import status for each:
- Confirm that you have the required dependencies added, as well as any optional ones you would like, and that you have marked the "Status" column in Xcode appropriately.


| Linked Frameworks and Libraries | Import Status | Description |
|---|---|---|
| CoreServices | Required | Access and manage key operating system services, such as launch and identity services. |
| SystemConfiguration | Required | Allow applications to access a device’s network configuration settings. Determine the reachability of the device, such as whether Wi-Fi or cell connectivity is active. Used for connection type. |
| WebKit | Required | Integrate web content seamlessly into your app, and customize content interactions to meet your app’s needs. Used for web browser user agent. |
| CoreSpotlight | Required | Index your app so users can search the content from Spotlight and Safari. |
| CoreTelephony | Required for SDK versions 2.2.2 and lower | Access information about a user’s cellular service provider, such as its unique identifier and whether the carrier allows VoIP. Used for mobile carrier. This dependency is not relevant for apps using SDK versions 3.0.0+ because device carrier information is not available in newer iOS versions. |
| AdServices | Optional | Attribute app-download campaigns that originate from the App Store, Apple News, or Stocks on iOS devices. This is used for obtaining Apple Attribution Token. |
| AdSupport | Optional | Provide apps with access to an advertising identifier. This will give access to IDFA. |
| StoreKit | Optional | Provide apps with ability to measure ad-driven installs via SKAdNetwork. |
| LinkPresentation | Optional | Support customization of share sheet. |

Learn more about CocoaPods.
Note: CocoaPods does not support having multiple iOS Privacy Manifest files if you are not also using use_frameworks. If you are not using use_frameworks and have multiple Privacy Manifest files, you will need to condense them into one file. Make sure to include everything declared in the Branch iOS SDK's Privacy Manifest file.
To add the Branch iOS SDK to your project using the CocoaPods dependency manager:
- Open your project's
podfile. If it doesn't have one yet, create one usingpod init. - Use the following sample code for your
podfile, and base it on your project's requirements:platform :ios, '12.0' # Replace APP_NAME with the name of your app target 'APP_NAME' do # If using Swift, include the following line: use_frameworks! # For Branch iOS SDK 2.0.0+ pod 'BranchSDK' # For Branch iOS SDK <2.0.0, remove previous pod line and uncomment the following line: # pod 'Branch' end - Run
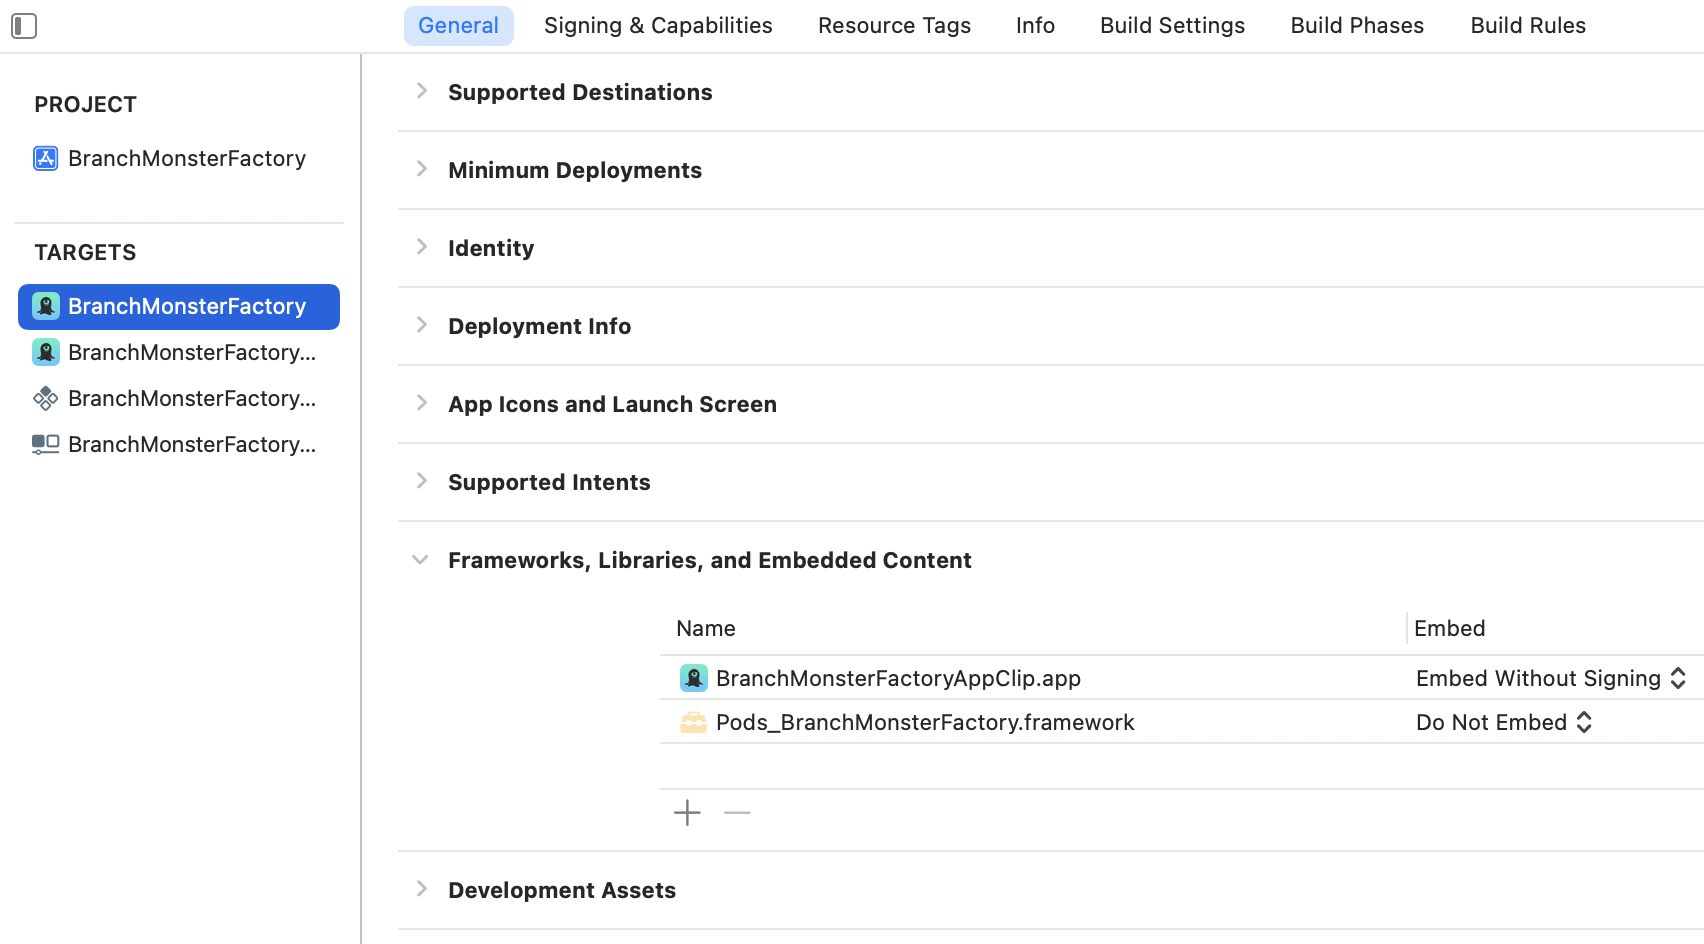
pod install && pod updateto install the project dependencies. - Confirm in your target's General tab that a
Pods_...dependency is now listed.
Learn more about Carthage.
Please note that Carthage 0.37.0+ is required for xcframework support, and in turn Branch requires the Carthage --use-xcframeworks option.
To add the Branch iOS SDK to your project using the Carthage dependency manager:
- Add
github "BranchMetrics/ios-branch-deep-linking"to your project'sCartfile. - Navigate to your project's Build Phases tab and expand the Link Binary With Libraries section.
- Click on the + button to search for and add the following dependencies, noting the correct import status for each:
- Confirm that you have the required dependencies added, as well as any optional ones you would like, and that you have marked the "Status" column in Xcode appropriately.
| Linked Frameworks and Libraries | Import Status | Description |
|---|---|---|
| CoreServices | Required | Access and manage key operating system services, such as launch and identity services. |
| SystemConfiguration | Required | Allow applications to access a device’s network configuration settings. Determine the reachability of the device, such as whether Wi-Fi or cell connectivity is active. Used for connection type. |
| WebKit | Required | Integrate web content seamlessly into your app, and customize content interactions to meet your app’s needs. Used for web browser user agent. |
| CoreSpotlight | Required | Index your app so users can search the content from Spotlight and Safari. |
| CoreTelephony | Required for SDK versions 2.2.2 and lower | Access information about a user’s cellular service provider, such as its unique identifier and whether the carrier allows VoIP. Used for mobile carrier. This dependency is not relevant for apps using SDK versions 3.0.0+ because device carrier information is not available in newer iOS versions. |
| AdServices | Optional | Attribute app-download campaigns that originate from the App Store, Apple News, or Stocks on iOS devices. This is used for obtaining Apple Attribution Token. |
| AdSupport | Optional | Provide apps with access to an advertising identifier. This will give access to IDFA. |
| StoreKit | Optional | Provide apps with ability to measure ad-driven installs via SKAdNetwork. |
| LinkPresentation | Optional | Support customization of share sheet. |
- Manually install the Branch
xcframeworkfrom GitHub. If you prefer a staticxcframework, please download the pre-built Branch static ZIP file available with Branch iOS SDK v1.38.0+. - Navigate to your project's Build Phases tab and expand the Link Binary With Libraries section.
- Click on the + button to search for and add the following dependencies, noting the correct import status for each:
- Confirm that you have the required dependencies added, as well as any optional ones you would like, and that you have marked the "Status" column in Xcode appropriately.
| Linked Frameworks and Libraries | Import Status | Description |
|---|---|---|
| CoreServices | Required | Access and manage key operating system services, such as launch and identity services. |
| SystemConfiguration | Required | Allow applications to access a device’s network configuration settings. Determine the reachability of the device, such as whether Wi-Fi or cell connectivity is active. Used for connection type. |
| WebKit | Required | Integrate web content seamlessly into your app, and customize content interactions to meet your app’s needs. Used for web browser user agent. |
| CoreSpotlight | Required | Index your app so users can search the content from Spotlight and Safari. |
| CoreTelephony | Required for SDK versions 2.2.2 and lower | Access information about a user’s cellular service provider, such as its unique identifier and whether the carrier allows VoIP. Used for mobile carrier. This dependency is not relevant for apps using SDK versions 3.0.0+ because device carrier information is not available in newer iOS versions. |
| AdServices | Optional | Attribute app-download campaigns that originate from the App Store, Apple News, or Stocks on iOS devices. This is used for obtaining Apple Attribution Token. |
| AdSupport | Optional | Provide apps with access to an advertising identifier. This will give access to IDFA. |
| StoreKit | Optional | Provide apps with ability to measure ad-driven installs via SKAdNetwork. |
| LinkPresentation | Optional | Support customization of share sheet. |
6. Initialize Branch
This section details how to initialize the Branch SDK depending on the kind of app you have.
The Branch code will vary based on whether you're using SwiftUI, UIKit scenes, or neither.
SwiftUI Apps Not Using Scenes
SwiftUI projects in Xcode no longer come with an AppDelegate by default, so in order to initialize the Branch SDK you will need to create one and reference it from your App.swift file.
- Create a new file called
AppDelegate.swiftin your project's main directory.

- Add the following code to your new
AppDelegate.swiftfile:
- Add the following code to your
App.swiftfile:
Other Apps Not Using Scenes
If your app does not use SwiftUI and also does not use UIKit scenes, update your AppDelegate.swift file with the following code:
Apps Using Scenes
If your app uses UIKit scenes, you will need to make changes to both your AppDelegate and SceneDelegate files.
- In your AppDelegate, update the file to include the following:
- Once your AppDelegate is updated, add the following to your SceneDelegate:
7. Validate Integration
It's important to validate your Branch iOS SDK integration after you've set it up, to make sure that data flows properly to the Branch Dashboard and you're able to start configuring Branch Deep Links and sending Branch Events.
Validation methods:
- The Integration Status tab in the Branch Dashboard.
- The Branch iOS SDK's Integration Validation method.
- The Branch iOS SDK's Enable Logging method.
- Branch's Link Debugger tool, which helps you confirm Branch Deep Link configuration, data, and routing.
For additional testing scenarios and tools, visit the iOS Testing page.
If you're running into issues with your Branch iOS SDK integration, start by looking at the iOS Troubleshooting page.
Updated 3 months ago
Once you've validated your Branch iOS SDK integration, try getting started with Branch Events or Branch Deep Links: