
About this theme
Banda Neira is a minimal theme with a slick design that is similar to a notion page or macOS settings page. A redesign of the previous version that was made in 2016, was re-coded from scratch.
Theme options
- Customizable colors: up to 11 custom colors
- Avatar shape. You can change between circle or square
- Show Music Widgets and Sticky Note Widgets
- Choose between “simple”, “notion” and “masonry” layout
- Show Tags or not
- Show Toggle Dark button or not
- Show Music Widget or not
- Show Sticky Note or not
- Show Social Media Popup or not
Features
Responsive layout and looks good on the mobile screen, dashboard-like reblog chain posts, support NPF posts, choose various layout (simple, notion and masonry), unlimited custom links as you want through Tumblr pages, and highlighted photos
How to add a custom link to this theme?
You can add as many custom links as you want through Tumblr pages, and the process is very simple, here’s how:
- Go to customize page
- Scroll down until you find ‘+Add a page’
- Enable ‘Show a link to this page’
- Select “Link” from the dropdown menu (for custom links) and if you want to make a custom page (for example, an ‘about’ page), just don’t change anything from the dropdown menu and leave the ‘Standard layout’
- Add the URL, page title, and page body text as you wish and save
What’s the difference between “simple”, “notion” and “masonry” layout?
Notion layout
The layout resembles the email lists view with timestamps and the URL of the blog that’s been added with a Tumblr email suffix. There are lists of user blog that acts as a button to open an individual post that relates to each user.
When this layout is enabled, there will be a button that stands out to open the hidden widgets.
 ALT
ALT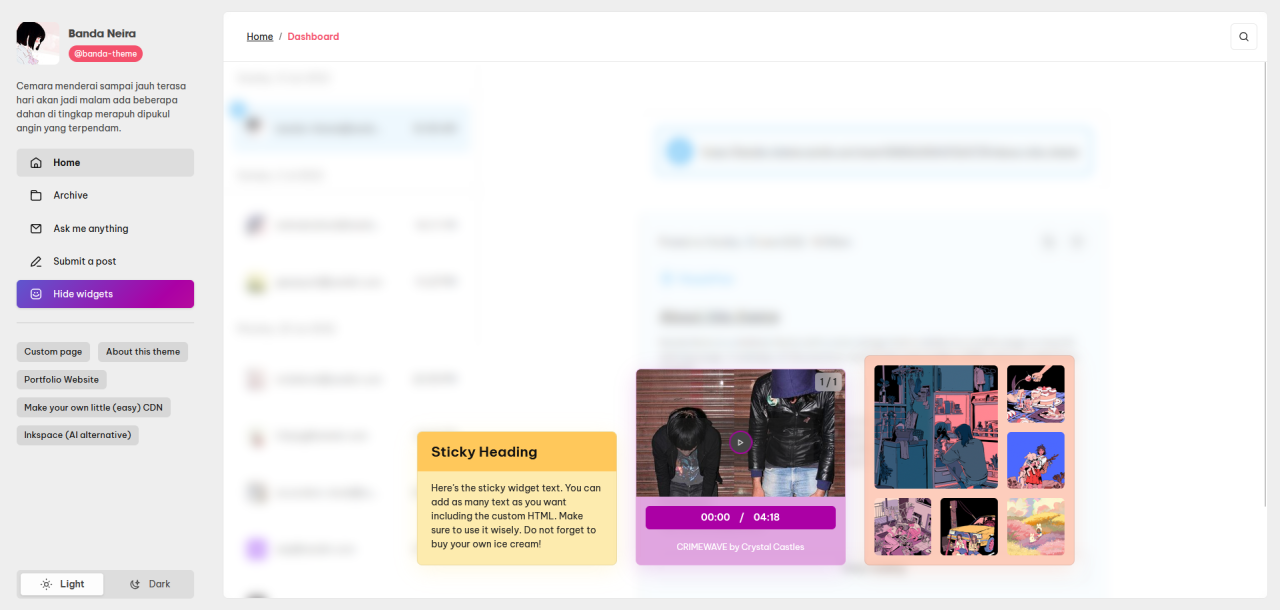 ALT
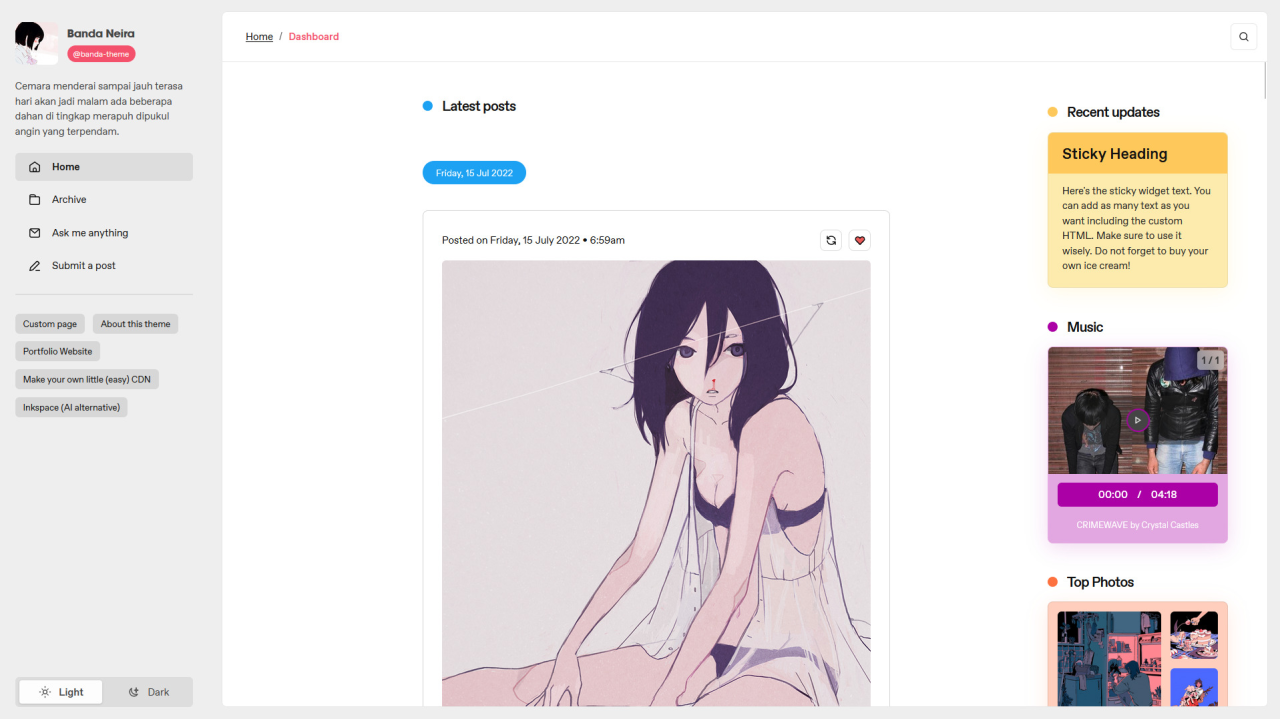
ALTSimple layout
The layout is shown as a regular layout. It is shown as a one-column post featuring the widgets in the right section. On the relatively smaller screen, the widget will be automatically moved to the bottom of the post.
 ALT
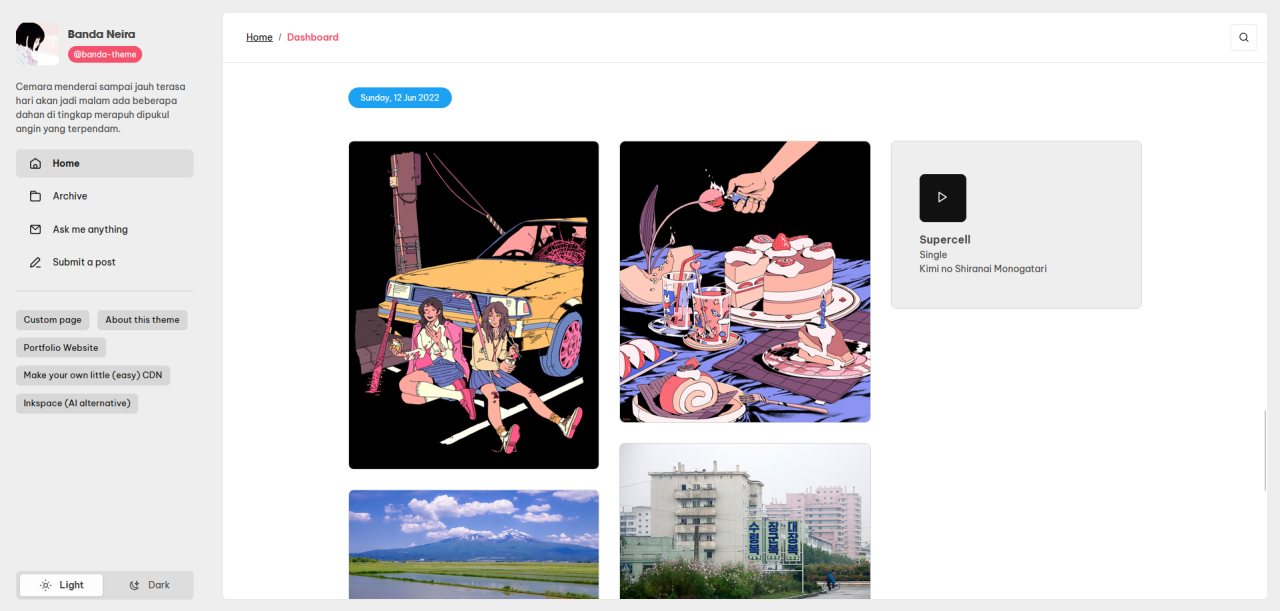
ALTMasonry layout
The layout is a grid layout based on columns, but unlike other fixed grid layouts, the images do not have fixed height posts.
This layout is perfect for the portfolio blog or those who have a heavy photo post on their blog.
If the widget is enabled, it will be automatically moved to the bottom of the post.
 ALT
ALTHow to upload the music player to the blog?
Before continuing, you need an account on Dropbox to host your mp3 file. Here’s how:
- Please double-check that your file name has no special characters in it. Keep it as letters only (no -, *, .)
- After that, upload your mp3 file to your Dropbox account
- It will trigger the pop-up. Below the dropdown that says “Anyone”, there will be a label that says Email link or Create then copy link. Click the blue link, “Create”.
- Copy the link
- After generating the link. it will look something like this: https://www.dropbox.com/s/7kzjezesbohiwoi/example.mp3?dl=0
- On that link, remove the ?dl=0 at the end. And remove the www and replace it with dl. And it will look something like this one: https://dl.dropbox.com/s/7kzjezesbohiwoi/example.mp3
- And the URL is ready to be copied and pasted on the textarea from theme options
The same thing with your album image, follow the instruction above. After generating the link, modify the URL based on point 5 & 6 above.
Inserting the mp3 file, song name, and album image into the theme
Once you get the mp3 file in form of a URL. Please go to your customize page, and scroll down a bit until you find this option.
 ALT
ALTPut your song URL & album image URL in the relevant field. Also do not forget to put the song name in the “Music Widget Song Name”.
How do I install this theme?
The theme has been uploaded on Tumblr theme garden which means you don’t have to manually copy-and-paste the code on customization panel, just go to this link and click ‘Install’ button and your blog automatically will be changed.
You said that this theme is mobile-friendly, but it shows the default theme provided by Tumblr! How do I disable it?
Easy! Just go customize, scroll down until you find ‘Advanced options’ → disable ‘Use default mobile theme’ → Save

