
How to Create a Repo
Can't find what you're looking for? Download the Repomaker web app on your computer to create your own customized collection of apps and files.
Step 1: Download and install Repomaker to start creating
-

Step 1
Download and install the Repomaker web app to your desktop computer. More info in the installation guide.
-

Step 2
Launch the Repomaker web app. Sign up or log in to begin.
-

Step 3
Create a new repo and name it accordingly.
-

Step 4
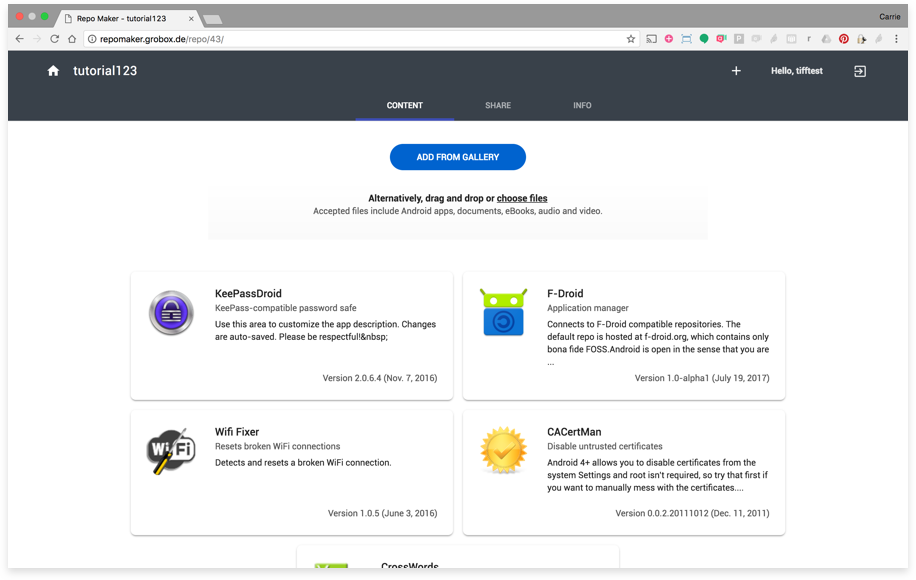
Choose to add apps from the gallery and available repositories, or upload your own files. Click the 'Add from Gallery' button to choose from readily available content.
-

Step 5
Click the 'Add' button next to the items you wish to add. When you're finished, click the 'back' arrow to return to your repo.
-

Step 6
Your apps will be displayed in your repo content view.
Step 2: Customize Your Repo
You are able to edit the app and file summaries to make it understandable for your target audience. You can edit the language making it country specific. Then share the repo seamlessly to attendees prior to conferences and trainings.
-

Step 1
Click on an item to open its details.
-
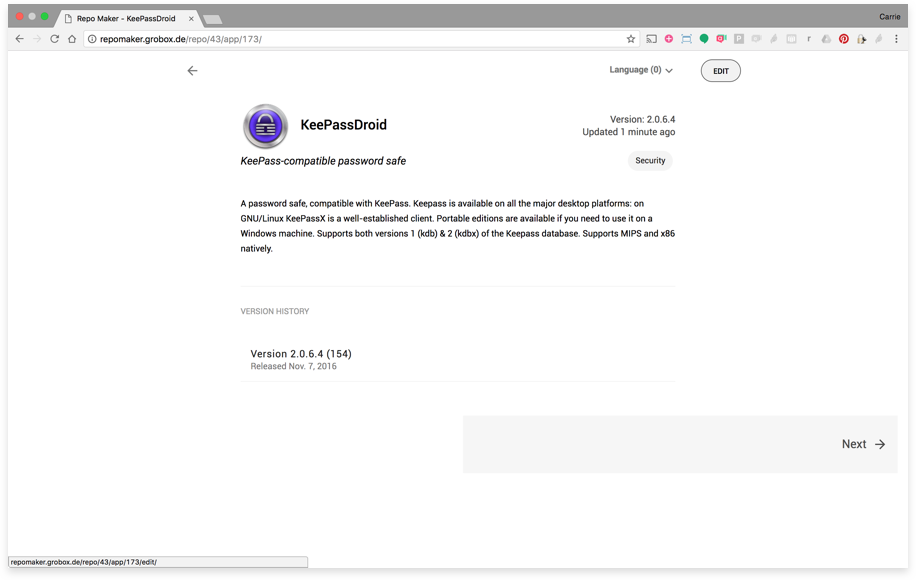
Step 2
Click 'Edit'.
-

Step 3
Customize the content to fit your target audience. Note: The changes you make will be made to your repo only. They will not update for the original source. Please use respect when customizing the information for content that is not yours.
-

Step 4
All of your changes are auto-saved.
Step 3: Customize Your Repo
-
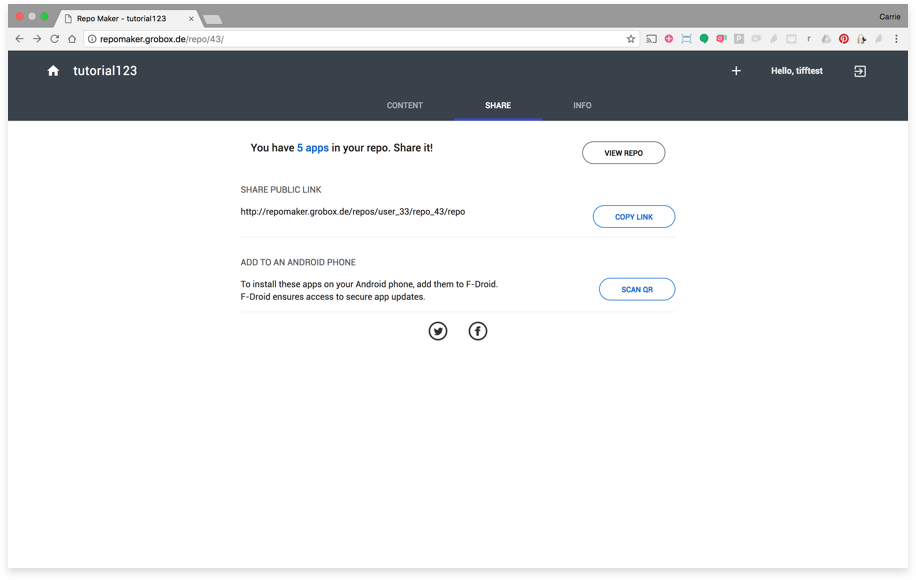
Step 1
With the repo you wish to share open, click 'Share' in the menu. Note: You need to set up a place to store your repo before sharing. Instructions for how to do this are in Step 2.
-

Step 2
You will be prompted to set up storage in order to publish your repo and before sharing. If you do not see this page, continue to Step 4.
-

Step 3
Choose the storage option that best fits your needs. Once you have storage, you're ready to share! Return to 'Share'.
-
Step 4
Choose to copy the link and send it directly to people through email or text, or share your repo on Facebook or Twitter. When people open the link to your repo, they will need to add it to an Android device to access the apps in the repo. See How to Add a Repo to F-Droid for more information.
-

Step 5
The 'View Repo' option allows you to see what you've just published or shared.
Step 4: Update Your Repo
-
Step 1
If you add apps from the gallery, they are automatically updated when the source adds new versions. For files that you uploaded, you can drag and drop updated versions in the repo view.
-
Step 2
Alternatively, you can open a single item to add a new version. Select edit.
-
Step 3
Scroll down to versions. Then, add a new version under the 'Version History' section.
-
Step 4
Then, add a new version under the 'Version History' section.
-
Step 5